This is a very Christmassy pudding that I came up with for our Boxing Day dinner. It’s combining the fruit and cream components of a classic British pudding with the traditional flavour of a German Christmas market – Gebrannte Mandeln (candied almonds). Best of both worlds, even if I say so myself.
30g unsalted butter
3 tbsp light brown sugar
About 50ml water
A pinch of ground cinnamon
A good handful of almonds, roughly chopped
2-3 ripe but firm pears
125g mascarpone
A bit of milk
Start by making the candied almonds. Heat the butter, sugar and a bit of water in a small frying pan, stirring to dissolve the sugar. Keep on heating and stirring until the water is mostly evaporated and the sugar starts to visibly get browner. Stir in the almonds and the cinnamon. Take off the heat after about a minute, and keep stirring until the sugar starts to harden. You want it to be in rather small pieces rather than large lumps of caramel. Once they’re set, they become nigh impossible to break. Set aside.
Next cut the pears into slices about 5mm thick, and cut out the seed area and the flower. Get a griddle to smoking hot, lightly oil it and sear the pear slices on both sides (possibly in batches). Set aside to cool.
To serve, stir the mascarpone with a bit of milk so it becomes softer. Then stir in half of the candied almonds. Spread the pear slices on 4 plates, put a good dollop of the mascarpone mix in the middle of each and sprinkle over the rest of the almonds.
After much nagging from my family, and quite a few lacklustre or outright failed attempts, I might finally have cracked the way to make proper pretzels as we know them from our old life (and holidays) in Bavaria.
I ended up roughly following this recipe (in German), but there were a few snags I had to work out to make it really work.
A tricky one is to do with the fact that the recipe asks for two tablespoons of Natron – which is actual pure caustic soda. This gets dissolved in boiling water and the pretzels are cooked for 20-30 seconds before being baked – this gives them the brown crust and the typical taste. The German name Laugenbrezel literally translates to lye pretzel – so that alkaline bath is pretty important.
Pure caustic soda is surprisingly hard to find in the UK. Sure, you can get drain cleaner, which is caustic soda, but it might have impurities you woulnd’t want to find on your food. Caustic soda is not used in any food in the UK, so you can’t get food grade caustic soda in the spice shelf (as you can in German supermarkets), and you can’t bring it in when coming back from holidays or get it mailed to you – Royal Mail and airlines consider it a dangerous substance, which is fair enough.
Most cookbooks in the UK recommend using baking soda instead for the alkaline bath. The problem is that while baking soda is slightly alkaline, an aquaeous solution will only reach a pH level of about 8.5 which is by far not strong enough to give pretzels the desired texture or taste. But here, a neat trick can help us out – if you heat baking soda, or sodium bicarbonate (NaHCO3) above 80oC, it will decompose into sodium carbonate (Na2CO3), CO2 and water. And sodium carbonate is much more alkaline than baking soda, a solution can reach a pH level of about 11. Handily, the conversion can be done easily by baking 3-4 tablespoons of baking soda while preheating the oven. See e.g. here for a closer description of the chemical reaction.
⚠ A fair warning though: sodium carbonate and its solution are noticeably caustic! Be careful with it, make sure to not splash it into your face or eyes, and should you touch it, make sure you wash skin or fabrics with plenty of water right away. Some goggles or glasses would not be amiss! ⚠
⚠ Another warning: Do not use aluminium baking trays for this! Sodium hydroxide has some interesting reactions with the aluminium oxide layer protecting your baking sheet. This might lead to unusable powder (polluted with aluminium ions), a baking tray with holes in it and a hydrogen explosion in your oven. ⚠
The other issue I had with the first few tries of making pretzels is that they come out of their alkaline bath dripping wet, so if you put them on a baking tray like that, they will sit in the liquid and become a bit gooey, and the texture will be all wrong. I fixed this issue by putting a lightly oiled cooling rack on a backing tray, and thus baking the pretzels slightly suspended in the air – so the excess lye can drip off and not touch the pretzels anymore.
Ingredients:
350ml milk, lukewarm
10g fresh yeast
1/4 tsp of sugar
500g strong white bread flour
10g fine salt
3-4 tbsp baking soda
1.5l water
coarse rock salt
Dissolve the yeast and the sugar in the milk, then add the flour and the fine salt and knead to get an elastic dough. Work it until not sticky anymore, then form into a ball on a slightly floured surface and rest for 1h.
Meanwhile, preheat the oven to 200oC and use it to bake the baking soda on a tray for an hour or so. Be careful when retrieving it from the oven, it will now be noticeably caustic and can hurt skin, eyes, or fabrics!
After an hour, roll the dough into a tight ball again, and then separate into 12 equal pieces. Fold, and then roll out each piece into a string of about 40cm/16″ length, slightly thicker in the middle and thinner at the ends. Shape this into a pretzel and make sure the ends stick on the sides. Put it onto a floured kitchen towel (or a couche if you have one). Then repeat with the rest. Cover and let prove for another hour or so.
Bring the water to the boil in a pan that is wide enough for a pretzel. Prepare a baking tray with a lightly oiled baking or metal cooling rack on top. When the pretzels are done proving, carefully dissolve the baked baking soda in the boiling water.
Submerge one pretzel in the boiling lye and cook for about 20-30 seconds. Make sure it is properly submerged. Use a plastic tool for this! Then lift it out, place on the rack on the baking tray and scatter with coarse rock salt. Repeat with as many pretzels as fit on the rack. Then bake them for about 20-25 minutes until they are a dark, shimmering brown – it should remind you of a conker, not the dull brown of burnt toast. Then repeat with the next batch and so on.
Once cooled, they are ready to eat – either with just butter for breakfast, or with Obatzda and a beer in the evening… My little test eaters were very happy with the result!
This is a bread we used to make a lot in the olden days in a standard bread maker when we had a huge rosemary bush in the garden of our rented flat. Now that the new rosemary has taken hold, I have adapted the recipe to make a loaf in a tin.
The dough works very similar to a simple white loaf, but has some extra olive oil and milk – and of course rosemary.
500g strong white bread flour
250g water
70g milk
10g fresh yeast
20g olive oil
10g salt
15g finely chopped fresh rosemary leaves
Mix the ingredients and work into an elastic dough (takes about 20 minutes). Form into a tight ball on a lightly floured worktop, and rest for one hour in a covered bowl. Form into a ball again, then shape into an oblong that fits in your greased bread tin (I use olive oil for this bread).
Cover and let prove for another hour in a warm place. Preheat oven to 250°C, just quickly, then slide in the tin. Bake for 5 minutes, then reduce temperature to 220°C and bake for another 25 minutes. Take the bread out of the tin and let cool on a wire rack.
Tastes great with cheese or with soup, or also surprisingly nice with honey.
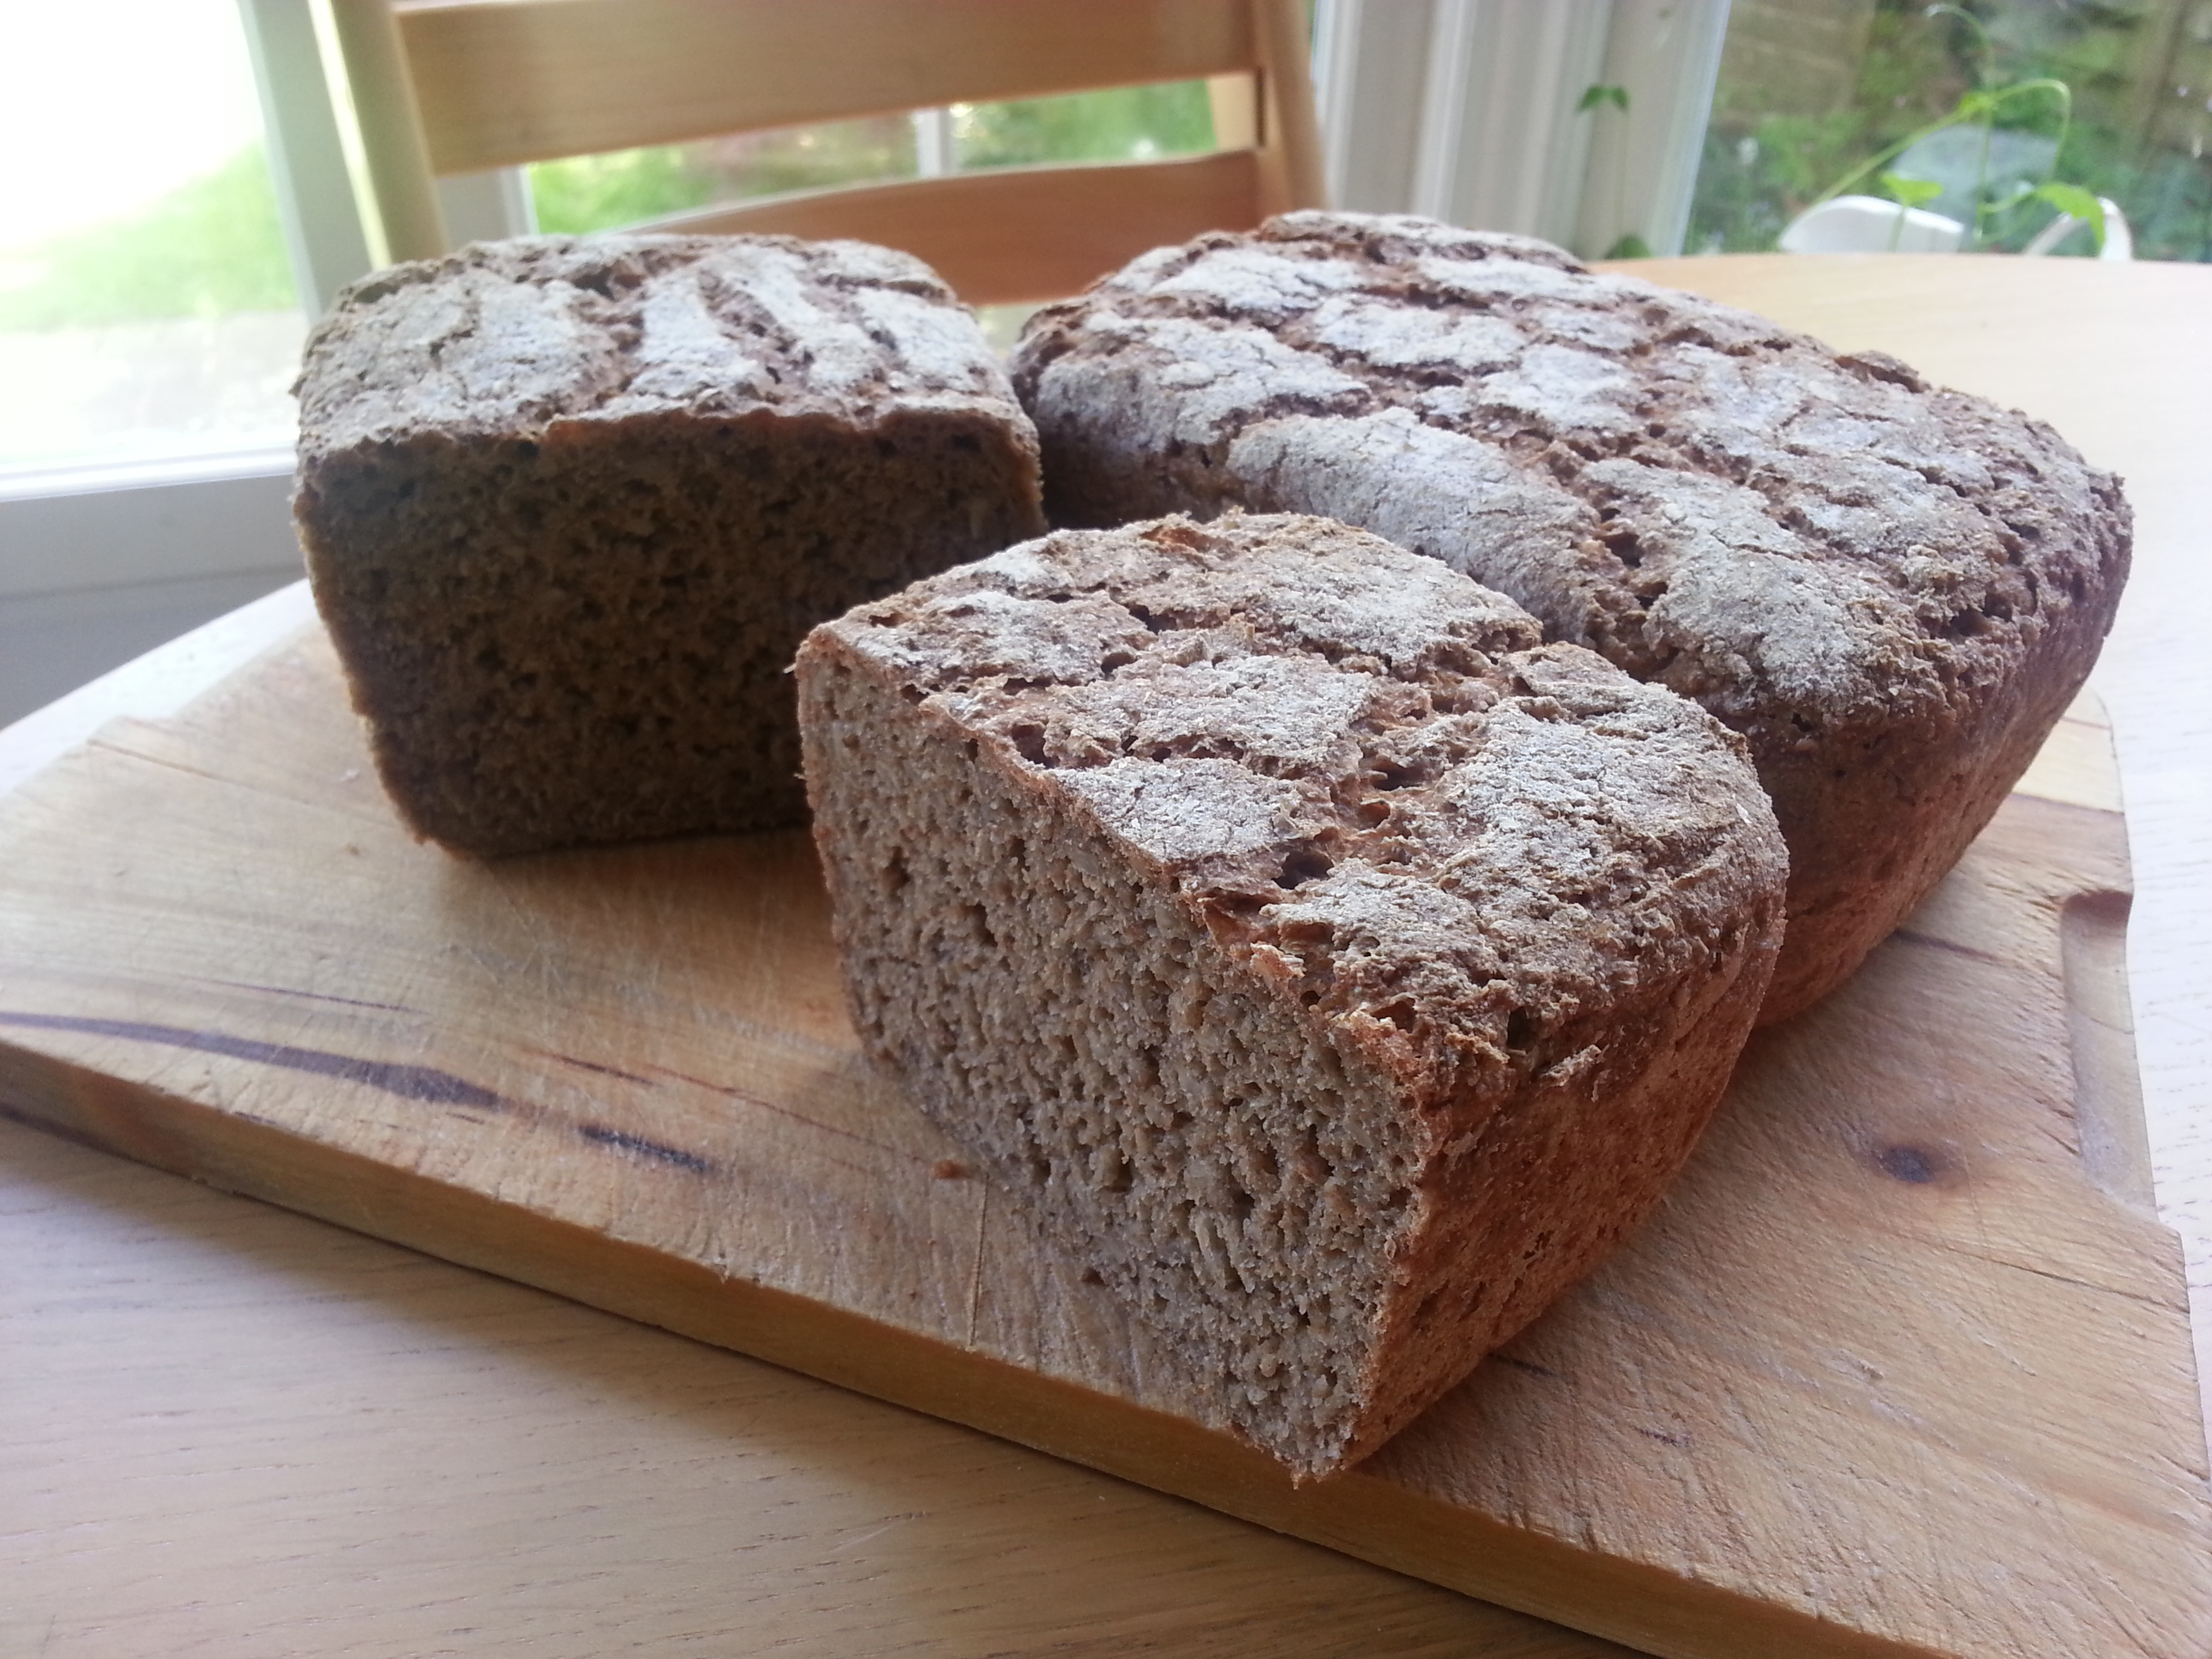
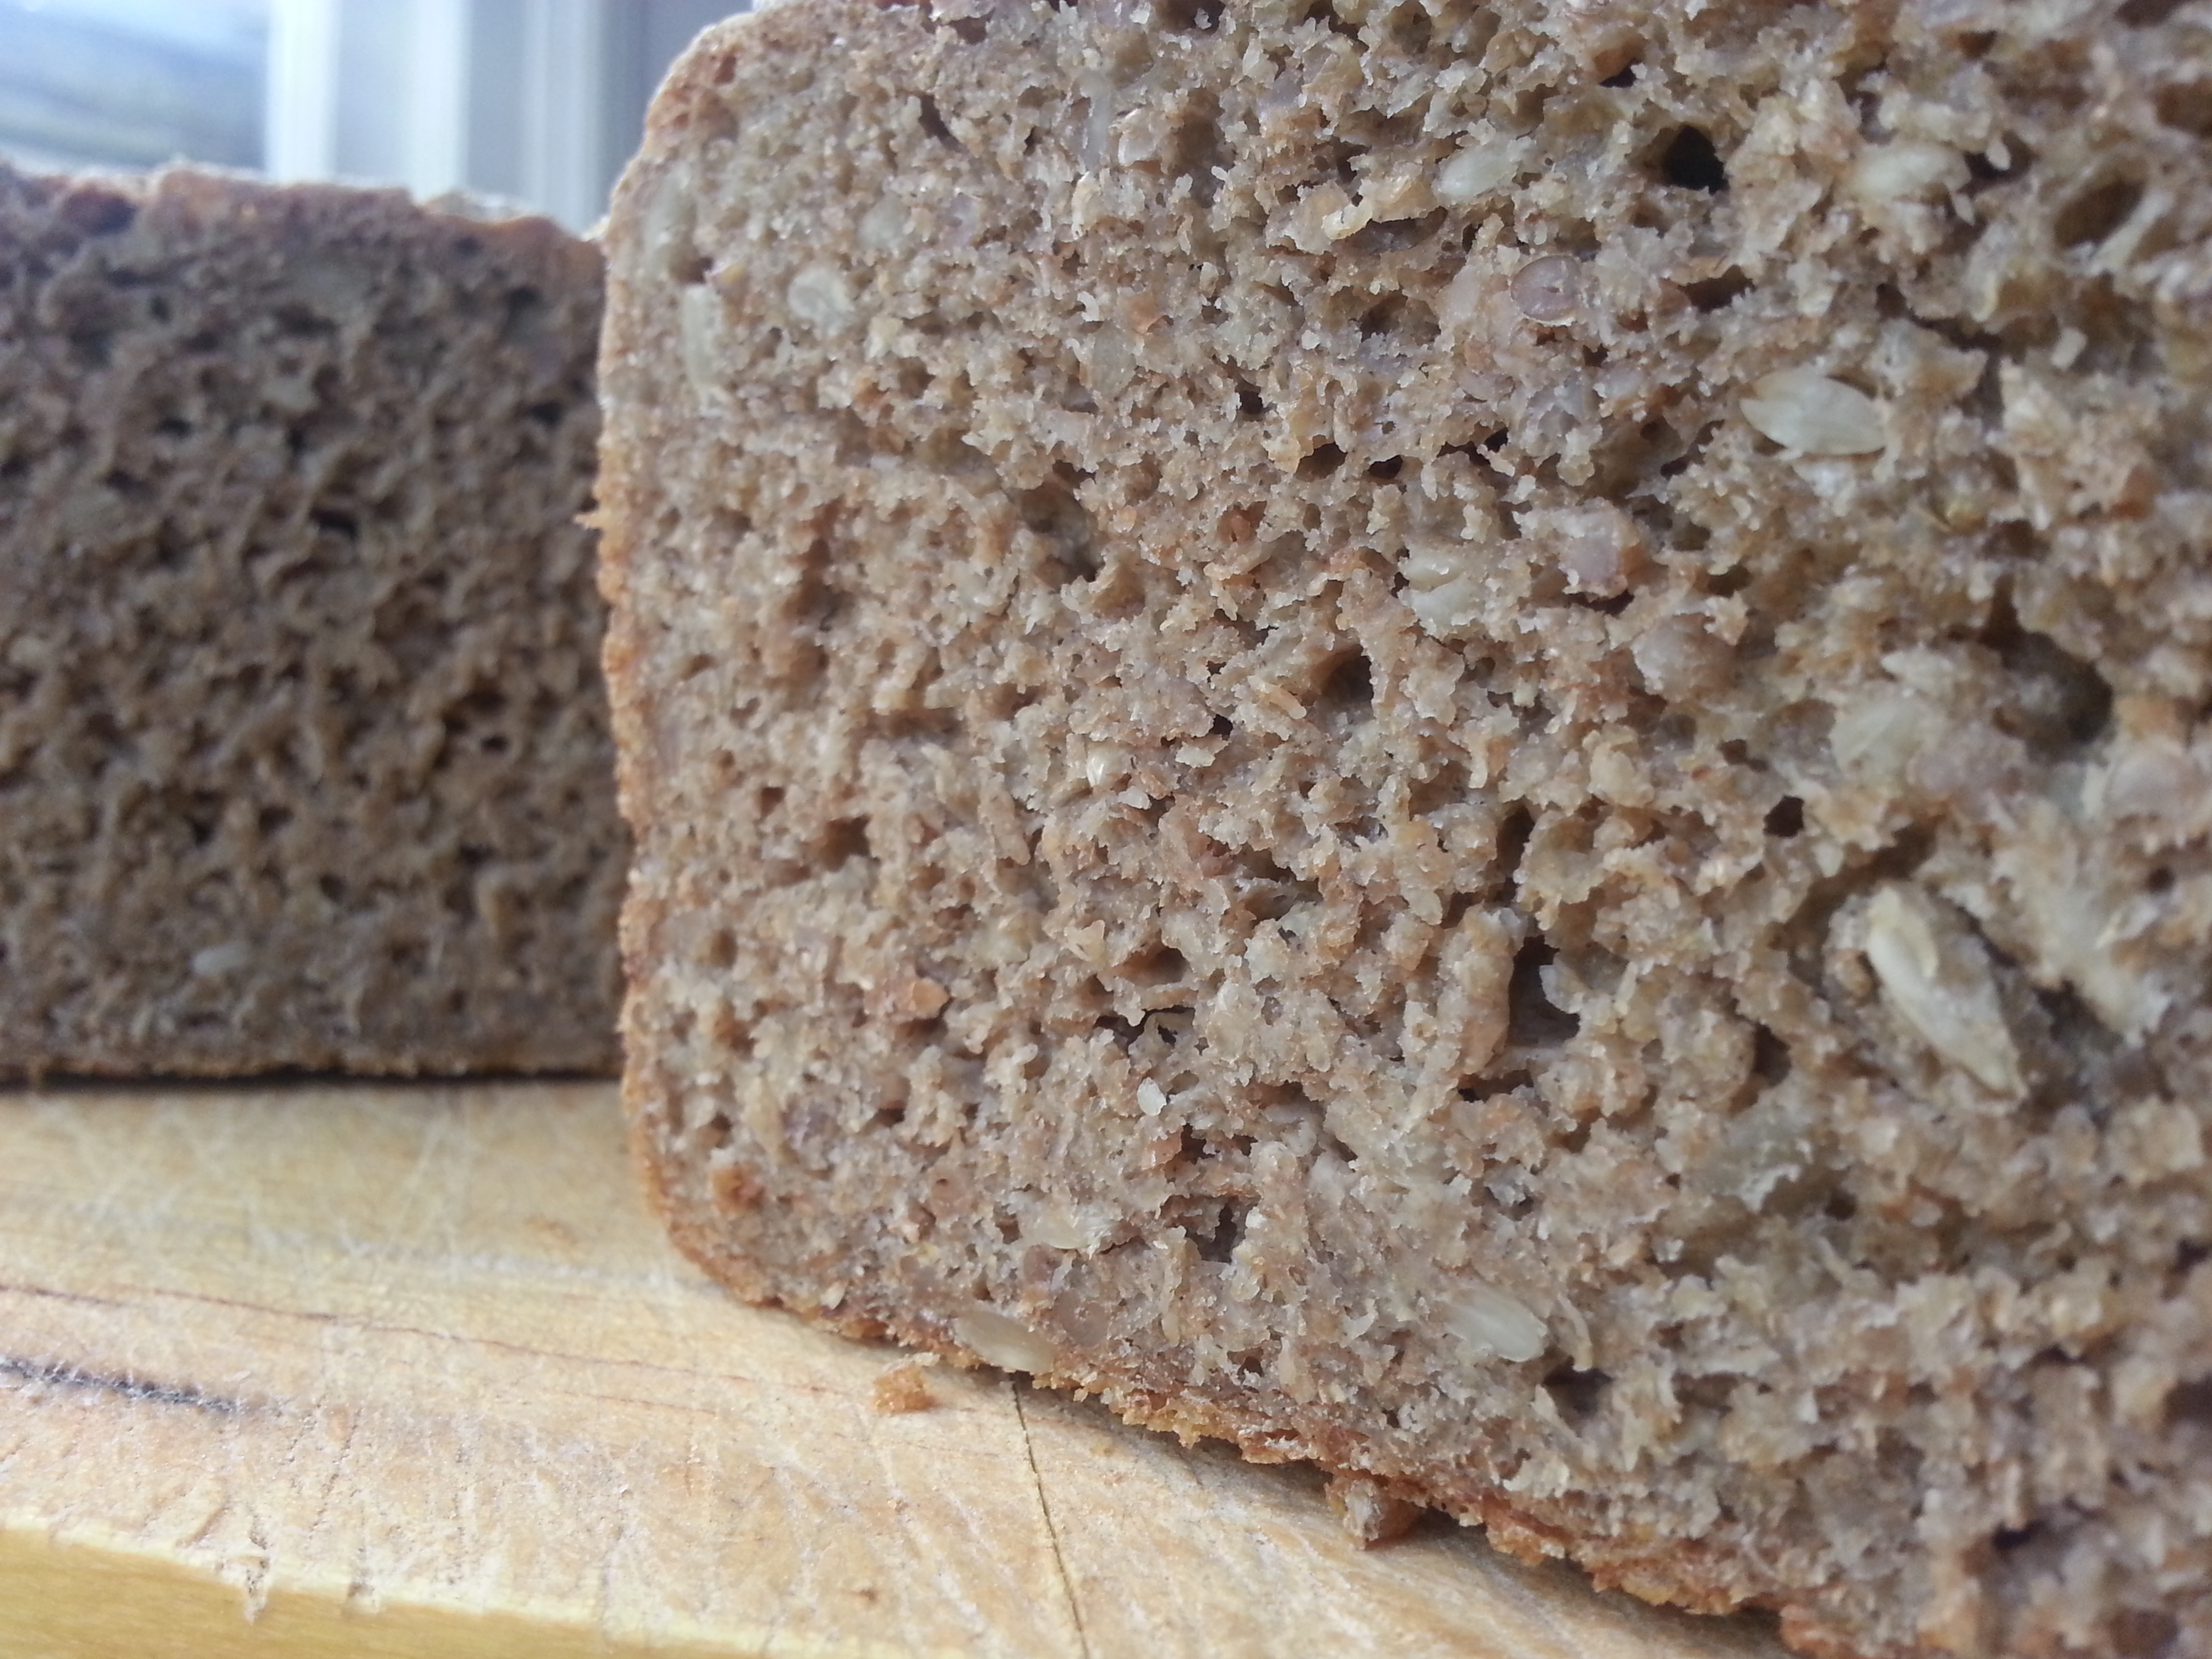
Over half term, we visited family in southern Germany, and as it was close, we took the girls to a ski resort in Austria to learn a bit of skiing. One day on the way to our accommodation, we stopped at the MPreis supermarket in Haldensee, Austria, and at the bakery there I bought a loaf of bread – a seeded wholemeal sourdough loaf baked in a square tin as is very typical for German or Austrian bread. This turned out to be so nice that my daughters declared this to be their favourite bread, even winning against the previous favourite, my own Armadillo Bread. Of course, I couldn’t give in that easily to a super market bakery in rural Austria, so I tried to come up with my own version of a similar bread
So, here we go with the recipe – whether I succeeded in capturing the top spot will be decided today after school…
400g rye sourdough starter 150g wholemeal rye flour
150g shredded rye kernels
500g strong wholemeal bread flour
100g sunflower seeds
20g salt
565g water
Some wholemeal bread flour for dusting
Loads of sunflower and pumpkin seeds for coating
Add the sourdough starter, the flours and the rye kernels to a bowl, add the water and start mixing. This dough is initially very wet and sticky, so might be worthwhile working in a bowl. After a while, add the salt and the sunflower seeds, and keep working the dough. Once it’s been worked to be a proper dough, roll into a ball on a work surface dusted with wholemeal flour, put in the bowl and rest fot 1h covered with a cloth.
After 1h, put back on the dusted work surface again and work into a ball again. The rye kernels will have started to soften and make the dough less wet and sticky by now. Rest for another hour.
After that, work into a ball again, then split into two even parts (about 900g-920g each). Form into short and fat logs. Roll these in a mix of sunflower and pumpkin seeds to cover thickly all around (the amount of seeds sticking to the bread is amazing, you probably need several hundred grams of seeds). Place in two rectangular bread tins that have been slightly greased.
Then the bread needs to prove for about 12-14h in a cool, draught free place (I use the under-stair storage). Then bake in an oven preheated to 250ºC for 5 minutes, before reducing the temperature to 220ºC and baking for another 35 minutes. The seeds on the top should be clearly browned, but not burned.
Then remove from the oven and tip out of the tins onto a cooling rack. Leave to cool completly before eating, even if the smell is very tempting.
This is a tasty dinner for a school night, using African peanut curry sauce from Bim’s Kitchen as a base, cutting down cooking time by an hour or so. It still takes a little bit of time, but not much effort. Serves two very hungry people or 3-4 at a stretch.
Half an onion, diced
1 garlic clove, diced
1 fresh green chili, chopped (optional, for chili addicts like me)
4 carrots, peeled and chopped in 1cm dice
2 courgettes, chopped into pieces
3 large mushrooms, chopped into pieces
1 glass of African Peanut Curry Sauce
4 eggs
Heat a bit of oil in a large pan, add the onions, garlic and chili and fry for a minute or so, without browning them. Add the chopped vegetables, and sauté for 10 minutes on a high heat, covered while stirring regularly. Add a pinch of salt at this stage. Add the curry sauce and a bit of water, cover again and cook for another 10-15 minutes. Crack open the eggs and gently slide then into the sauce. Cover and poach in the curry for about five minutes. Season with salt and pepper, serve with rice.
Actually, any West African side dish like fufu, TZ or banku would go nicely with it, but if you go through the effort of making those, you might as well cook groundnut soup from scratch…
I went to Scandi Kitchen the other day to buy fresh yeast for my bread baking – they are one of the few places in central London where you can just walk in and get fresh yeast any day. Walking past the shelf with flours and baking ingredients, my gaze fell onto a pack of shredded rye kernels – another ingredient I have been looking out for, as it is a key ingredient for the heavy, moist rye wholemeal bread so typical of German and north eastern European cuisine.
So, here is my version of this continental staple:
400g Sourdough Starter
150g shredded rye kernels, soaked overnight and strained
100g sunflower seeds
600g wholemeal rye flour
20g salt
500g water
Measure the starter into a large bowl, then add rye kernels, sunflower seeds, flour and the water. Mix thoroughly and when it starts to come together, work the dough for about 10 minutes (preferably in a bowl, it’s a rather sticky and messy), then add the salt and work for another 10 minutes. You might want to do this in a kneading machine or kitchen mixer if you have one handy. Scrape it out of the ball onto a work surface dusted with more wholemeal rye flour (no white flour shall come near this bread). Form into some kind of ball, adding a bit more flour to the surface if required. This can be a bit tricky, as the dough is really moist and sticky. Put back into the bowl, cover with a cloth and rest for 1h. Roll into a ball again on the dusted work surface. Rest for another hour.
Split the dough into two equal halves, and form two balls. Then roll them into short and fat logs that fit into baking tins. Put them in greased tins and leave to prove for 12h-14h in a cool, but not draughty place. I use the storage under the stairs for this.
Preheat oven to 250C. Bake in the tins for about 5min, then reduce the heat to 220C and bake for another 30min. Turn out of the tins and leave to cool completely on a wire rack.
This bread goes really well with a stronger cheese, smoked fish or gravad lax, or if you like meat, with smoked ham. And maybe some pickled gherkins.
This is another recipe based on my all-rye sourdough starter, a rather recent addition to my repertoire of breads. I have to admit I have been reading the chapter of pure sourdough breads in Richard Bertinet‘s Crust and was a bit scared of trying it myself, but at some point last year I took the plunge and gave his recipe a go. The first try only looked a bit like a car crash, and after a while of experimenting and adapting the recipe to my starter and way of working, those sourdough loaves started to turn out quite nicely (and they are really tasty and keep for a few days in the bread bin).
I called it an off-white sourdough as while it’s main ingredient is white bread flour, the rye starter gives it a beige-brown colour and a very distinctive taste that is clearly not white bread.
400g starter
850g strong white bread flour
580g water
20g salt
Mix everything but the salt and work it for about 20 minutes, adding the
salt after about 10 minutes.
Form into a ball on a flour-dusted surface, put in a bowl, cover with a
towel and leave to rest for 1h
Then put it back onto the flour-dusted surface, fold it to a ball again,
back to the bowl and rest for another hour.
Then back on the flour dusted surface, form into a ball, cut in half (I
use scales to get them equal), form into two balls, and put in flour
dusted proving baskets (or two bowls lined with floured tea towels),
seam side down, cover with a towel. Leave in a cool place to rest for
14-18h.
Preheat the oven to 250C. Carefully put the loaves from the baskets onto
a baking tray, ideally covered in a silicone sheet or baking paper (seam
side down) – they are quite soft and fragile at this stage, don’t
manhandle them or the finished bread will look like it had a car accident.
Cut criss-cross over the top with a sharp blade.
Mist the oven, bake for 5 minutes, then turn down the heat to 220C, and
bake for another 30-35 minutes. Leave to cool completly on a wire rack.
This bread keeps a few days and freezes well. Perfect lightly toasted
with a poached egg.
It’s been a while since I posted here, but I’ve been talking about bread recipes recently, so I thought I could continue this series…
This one is the staple I have been baking every other week for the last few years, and it’s the main bread that we tend to eat all the time. It is a true hybrid, 60% wheat and 40% rye, a lot of wholemeal and a bit of white flour, half yeast and half sourdough.
Ingredients for 2 loaves:
400g Rye sourdough starter
200g Wholemeal rye flour
400g Wholemeal strong wheat flour
200g Strong white bread flour
10g Fresh yeast
20g Salt
475g Water
150-250g Mixed seeds (any of sunflower, pumpkin, linseed etc. I change the mix every time)
Mix all the ingredients except the seeds in a bowl, and then work to a smooth dough. Towards the end, work in the seeds. Form a tight ball on a floured work surface, put back in the bowl, cover with cling film and leave to rest foot about 8h (I usually do that overnight). Then work into a ball again, split in half and work every half into a ball again and leave to prove in a proving basket for 1.5h. In the meantime, preheat the oven to 250°C.
After proving, carefully transfer the loaves from the baskets onto a baking tray, and slice them across about every inch. This will allow them to expand to a more oblong shape and will give them the stripy pattern that gave them their name. Quickly mist the oven, then put in the loaves on the bottom shelf. Bake for 5 minutes, then turn down the heat to 220°C and bake for another 30 minutes. Remove from the oven and let them cool completely on a wire rack.